
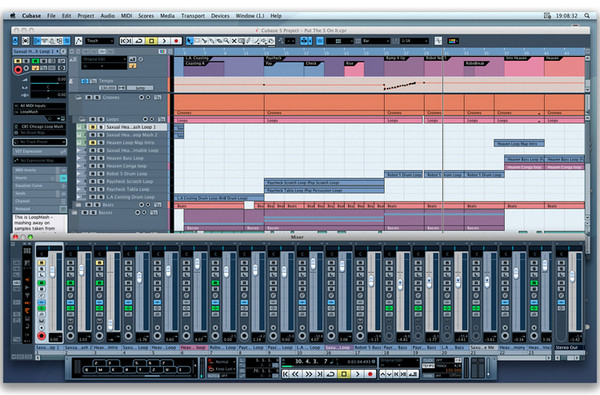
Step 1: Configure Your Audio Hardware
Before recording, you must tell Cubase which hardware (sound card or audio interface) to use.
Open Cubase 5 and go to Devices > Device Setup.1
On the left, select VST Audio System.
On the right, choose your ASIO Driver from the dropdown menu (e.g., Focusrite USB ASIO, ASIO4ALL, or your specific interface driver).2
Click OK.
Step 2: Set Up Input Connections (Busses)
You need to create a "bridge" between your physical microphone and the software.
Go to Devices > VST Connections (or press F4).3
Click the Inputs tab.
Right-click the existing "Stereo In" and select Remove Bus (it’s better to record voice in Mono).
Click Add Bus and choose Mono.
In the Device Port column, ensure your microphone’s input is selected (usually Input 1 or Mic 1).
Step 3: Create a Vocal Track
In the main Project window, Right-click in the track list area and select Add Audio Track.
Under Configuration, select Mono.
Click OK.
In the Inspector (the panel on the far left), look at the Input Routing (top section). Make sure the Mono Bus you created in Step 2 is selected.
Step 4: Prepare and Record
Check Levels: Speak into the mic. You should see the green meter move on your track. Adjust the Gain knob on your interface so the meter hits around -12dB to -6dB (stay out of the red!).
Enable Monitoring: Click the small Speaker Icon (Monitor) on the track so it turns orange. This lets you hear yourself through your headphones.
Arm for Recording: Click the Red Circle (Record Enable) on the track.
Record: Press Asterisk (*) on your numpad or the Record button on the Transport panel.4
Stop: Press Spacebar when finished.
Quick Troubleshooting
No Sound? Check if your interface needs +48V (Phantom Power)—usually required for Condenser mics.
Delay (Latency)? Go back to Device Setup > ASIO Driver > Control Panel and lower the Buffer Size to 128 or 256 samples.
Can't hear playback? Turn off the Speaker Icon (Monitor) after recording to listen to the take.
How to Record High-Quality Vocals in Cubase 5
This video provides a visual walkthrough of the settings mentioned above to ensure your recording levels are clean and professional.
WELCOME TO TASENI GRAPHICS.. HOME OF EVERYTHING



0 Comments